Index

Introduction
The Infrared (IR) Sensor Module detects obstacles by emitting infrared light and measuring reflections. This tutorial guides you through connecting the IR sensor to an Arduino to sense obstacles and display messages on the Serial Monitor. You’ll learn about circuit setup, coding, and troubleshooting common issues.
Required Components
- Arduino Board (e.g., Arduino Uno)
- IR Sensor
- Jumper Wires
- Breadboard (optional)
Pinout

- VCC: Connect this pin to the positive voltage supply (usually 3.3V to 5V).
- GND: Connect this pin to the ground (0V) of the power supply.
- OUT: This pin provides a digital output signal (HIGH or LOW) indicating the presence of an obstacle
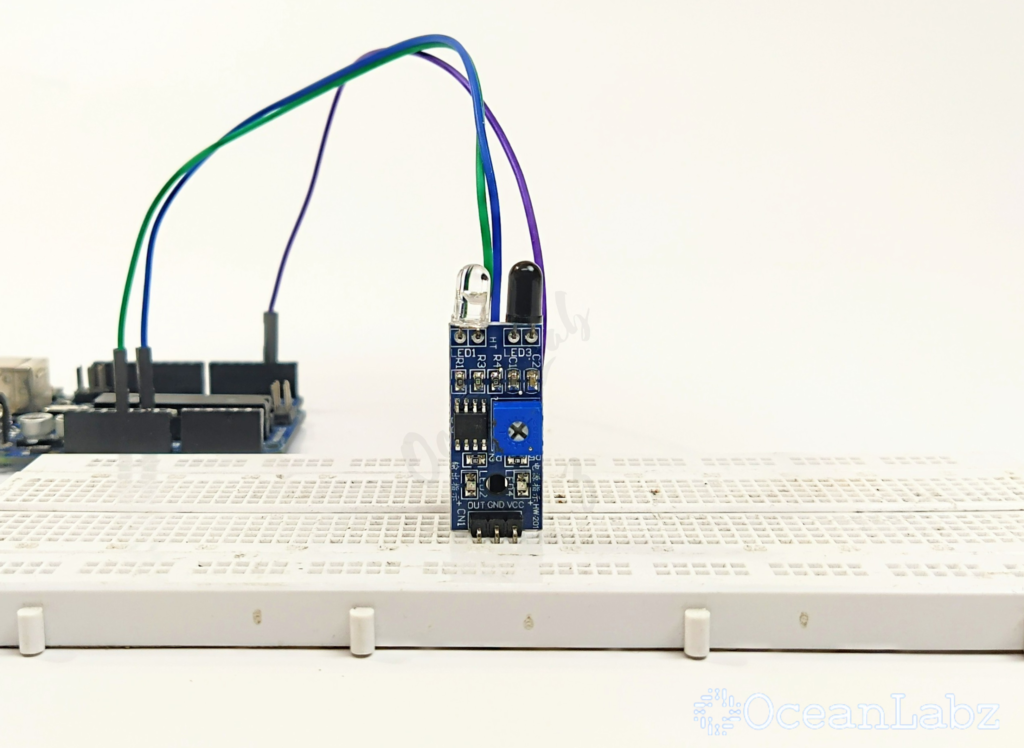
Circuit Diagram / Wiring
- IR SENSOR VCC → 5V (Arduino)
- IR SENSOR GND → GND (Arduino)
- IR SENSOR OUT → Pin D2 (Arduino)

Programming With Arduino
- Copy the provided code into your Arduino IDE.
#define IR_PIN 2 // Define the pin connected to the sensor module

void setup() {
  pinMode(IR_PIN, INPUT); // Set the sensor pin as an input
  Serial.begin(9600); // Initialize serial communication
}

void loop() {
  int obstacleDetected = digitalRead(IR_PIN); // Read the sensor value

  if (obstacleDetected == LOW) {
    Serial.println("Obstacle detected!"); // Print message if obstacle is detected
  } else {
    Serial.println("No obstacle detected"); // Print message if no obstacle is detected
  }

  delay(500); // Delay for stability
}
Explanation
- Pin Setup: The IR sensor is connected to digital pin 2 and configured as an input.
- Serial Communication: Initializes serial communication at 9600 baud.
- Loop: Continuously reads the sensor; if an obstacle is detected (LOW), it prints “Obstacle detected!” Otherwise, it prints “No obstacle detected.” A 500 ms delay is added for stability.
Testing and Troubleshooting
- Check Connections: Ensure the IR sensor is properly connected to the Arduino, with the correct pin assigned.
- Open Serial Monitor: Use the Serial Monitor to view output messages for obstacle detection.
- Verify Sensor Functionality: Test the sensor by placing an obstacle in front of it; ensure it detects the obstacle by printing the appropriate message.
- Delay Adjustment: If readings are inconsistent, consider adjusting the delay for better stability.


