Index
Introduction
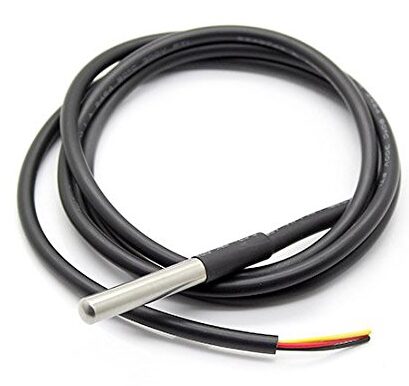
The DS18B20 temperature sensor is a digital device that communicates with a microcontroller through a single wire. It is available in two physical forms: a TO-92 package similar to a transistor, and a waterproof probe suitable for use in submerged or buried environments. The temperature sensor is highly accurate with a temperature range of -55°C to +125°C and an accuracy of ±0.5°C. The device does not require any additional components to function, and it can be set to one of four resolution settings, ranging from 9 to 12 bits. The default resolution is 12 bits, which provides a precision of 0.0625°C. The DS18B20 operates on a power supply between 3V and 5.5V and consumes only 1mA during active temperature conversions.
Working Principle
The DS18B20 contains an integrated temperature sensor that converts temperature into a digital signal. This sensor is capable of measuring temperatures ranging from -55°C to +125°C with an accuracy of ±0.5°C (within -10°C to +85°C range).
Communication with the DS18B20 sensor is established using a 1-Wire interface, which involves sending specific timing-based signals over a single data line (DQ). The microcontroller (e.g., Arduino) initiates communication by sending commands to the DS18B20 to start temperature conversion.
Once the temperature conversion is complete, the DS18B20 sends the digital temperature data back to the microcontroller over the same 1-Wire data line. The microcontroller then interprets this data to obtain the temperature reading, which can be displayed, processed, or used in various applications.
Applications
- Home Automation: Controls heating/cooling systems, monitors room temperatures.
- Weather Stations: Measures outdoor temperatures for DIY weather monitoring.
- Industrial Automation: Ensures process control and safety by monitoring temperatures.
- IoT Projects: Integrates with IoT devices for remote temperature monitoring.
- Medical Devices: Monitors patient temperatures in healthcare settings.
- Automotive: Detects engine temperatures and supports vehicle climate control.
- Education: Used in STEM projects to teach temperature measurement and sensor interfacing.
Technical Specification
Here are the technical specifications of the DS18B20 temperature sensor:
- Temperature range: -55°C to +125°C
- Accuracy: ±0.5°C (-10°C to +85°C)
- Resolution: 9, 10, 11, or 12 bits (default is 12 bits)
- Supply voltage: 3V to 5.5V
- Conversion time : < 750ms
- Operating current: 1mA (during temperature conversion)
Pinout

- VCC (DS18B20) → 5V (or 3.3V) on Arduino.
- GND (DS18B20) → GND on Arduino.
- Data (DS18B20) → Digital pin on Arduino (e.g., Analog A0).
Circuit Diagram
| DS18B20 Pin | Arduino Pin |
| VCC | 5 V |
| GND | GND |
| DQ | Analog A0 |

Programming With Arduino
Step 1: Install Required Libraries
Before uploading the code, you need to install the required libraries:
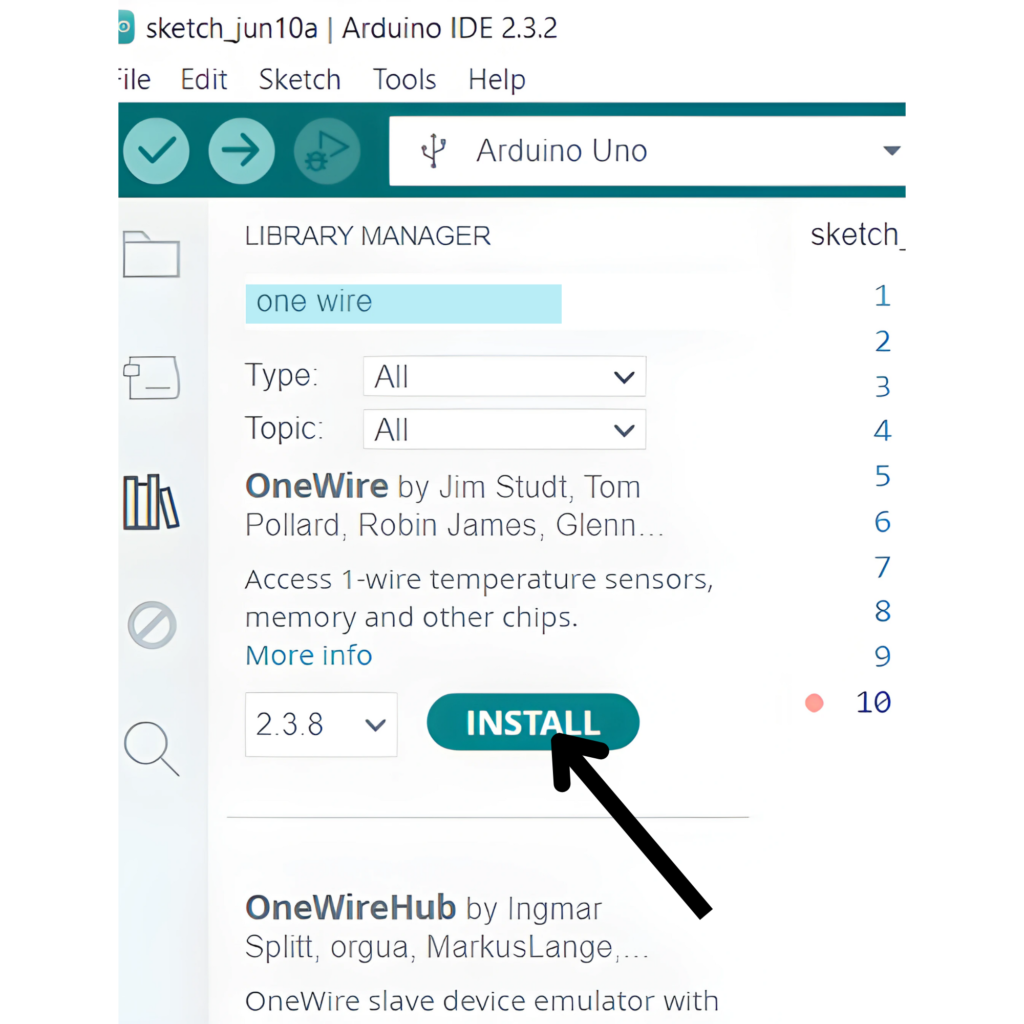
OneWire Library:
- Go to Sketch > Tools > Manage Libraries.
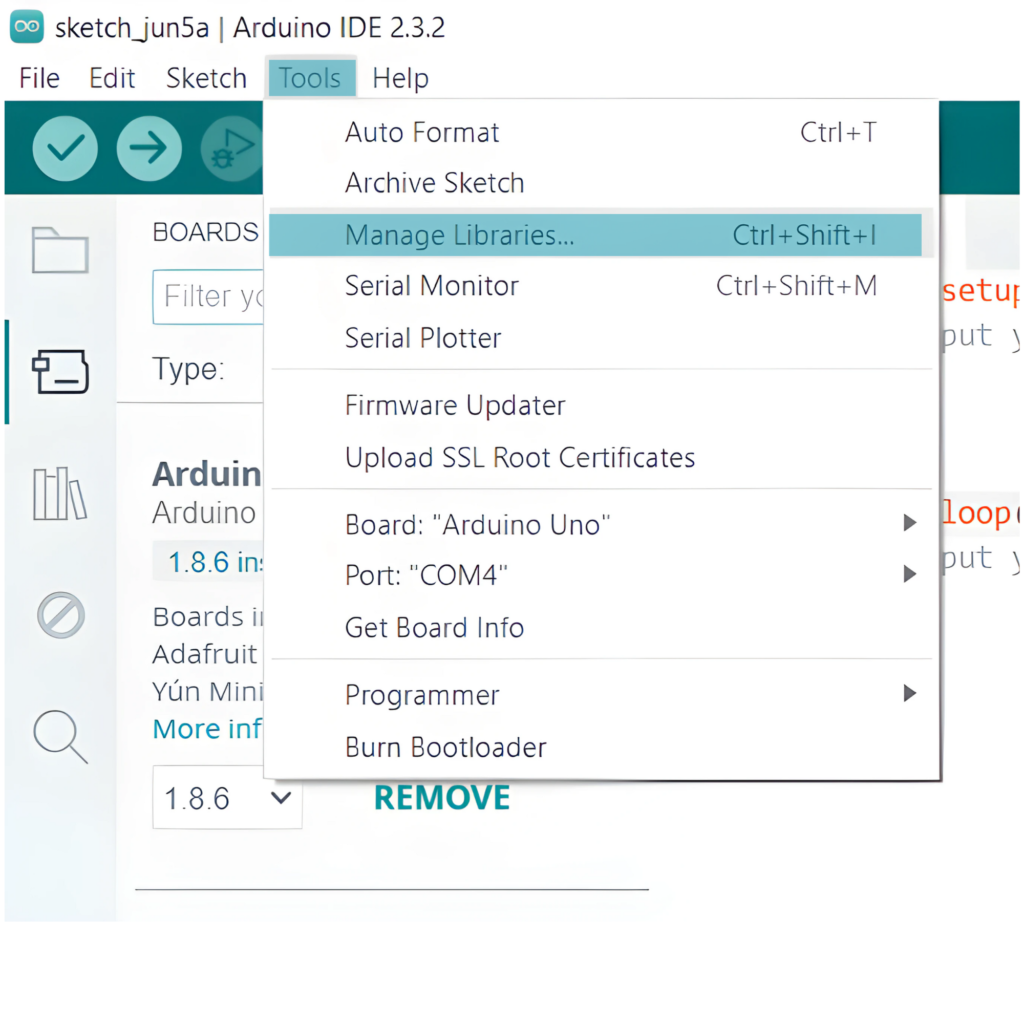
- Search for OneWire and install it.
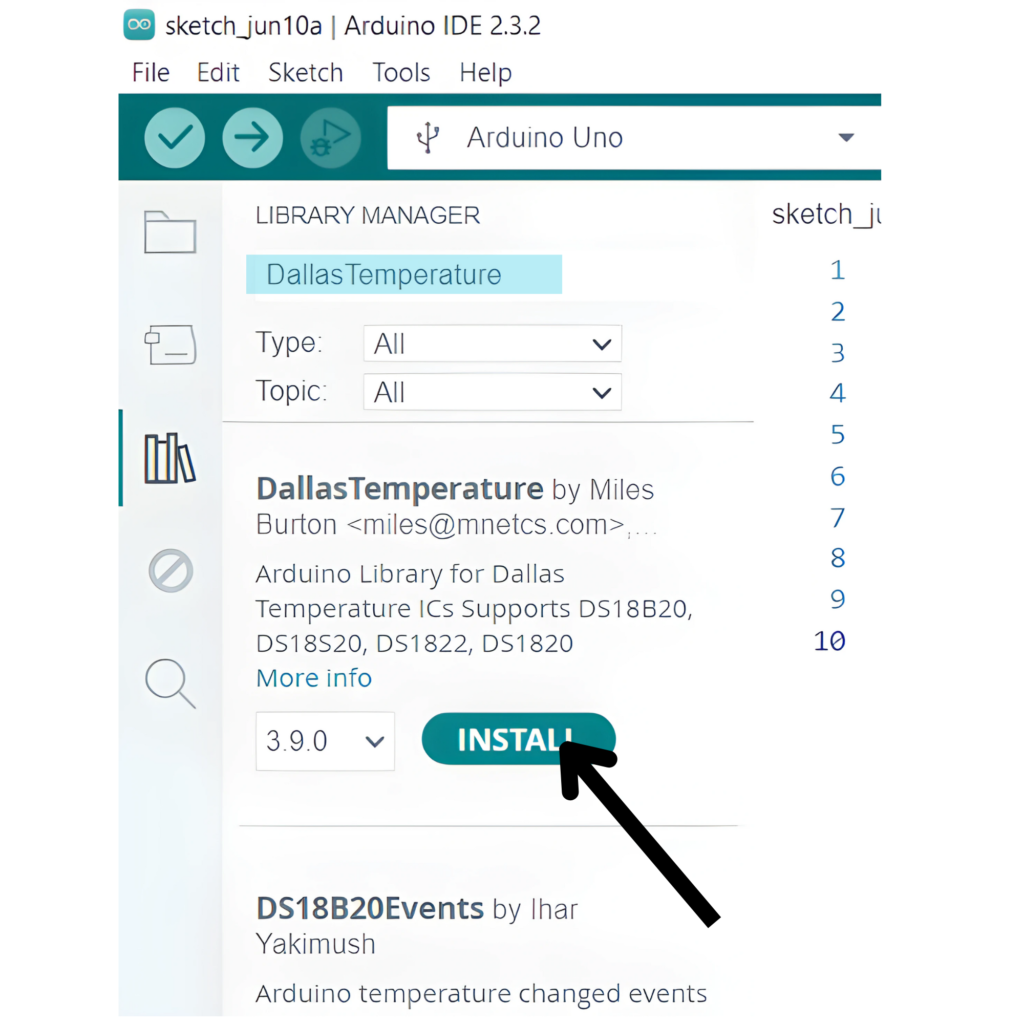
- DallasTemperature Library:
- Search for DallasTemperature and install it.
Step 2: Select the appropriate board and port
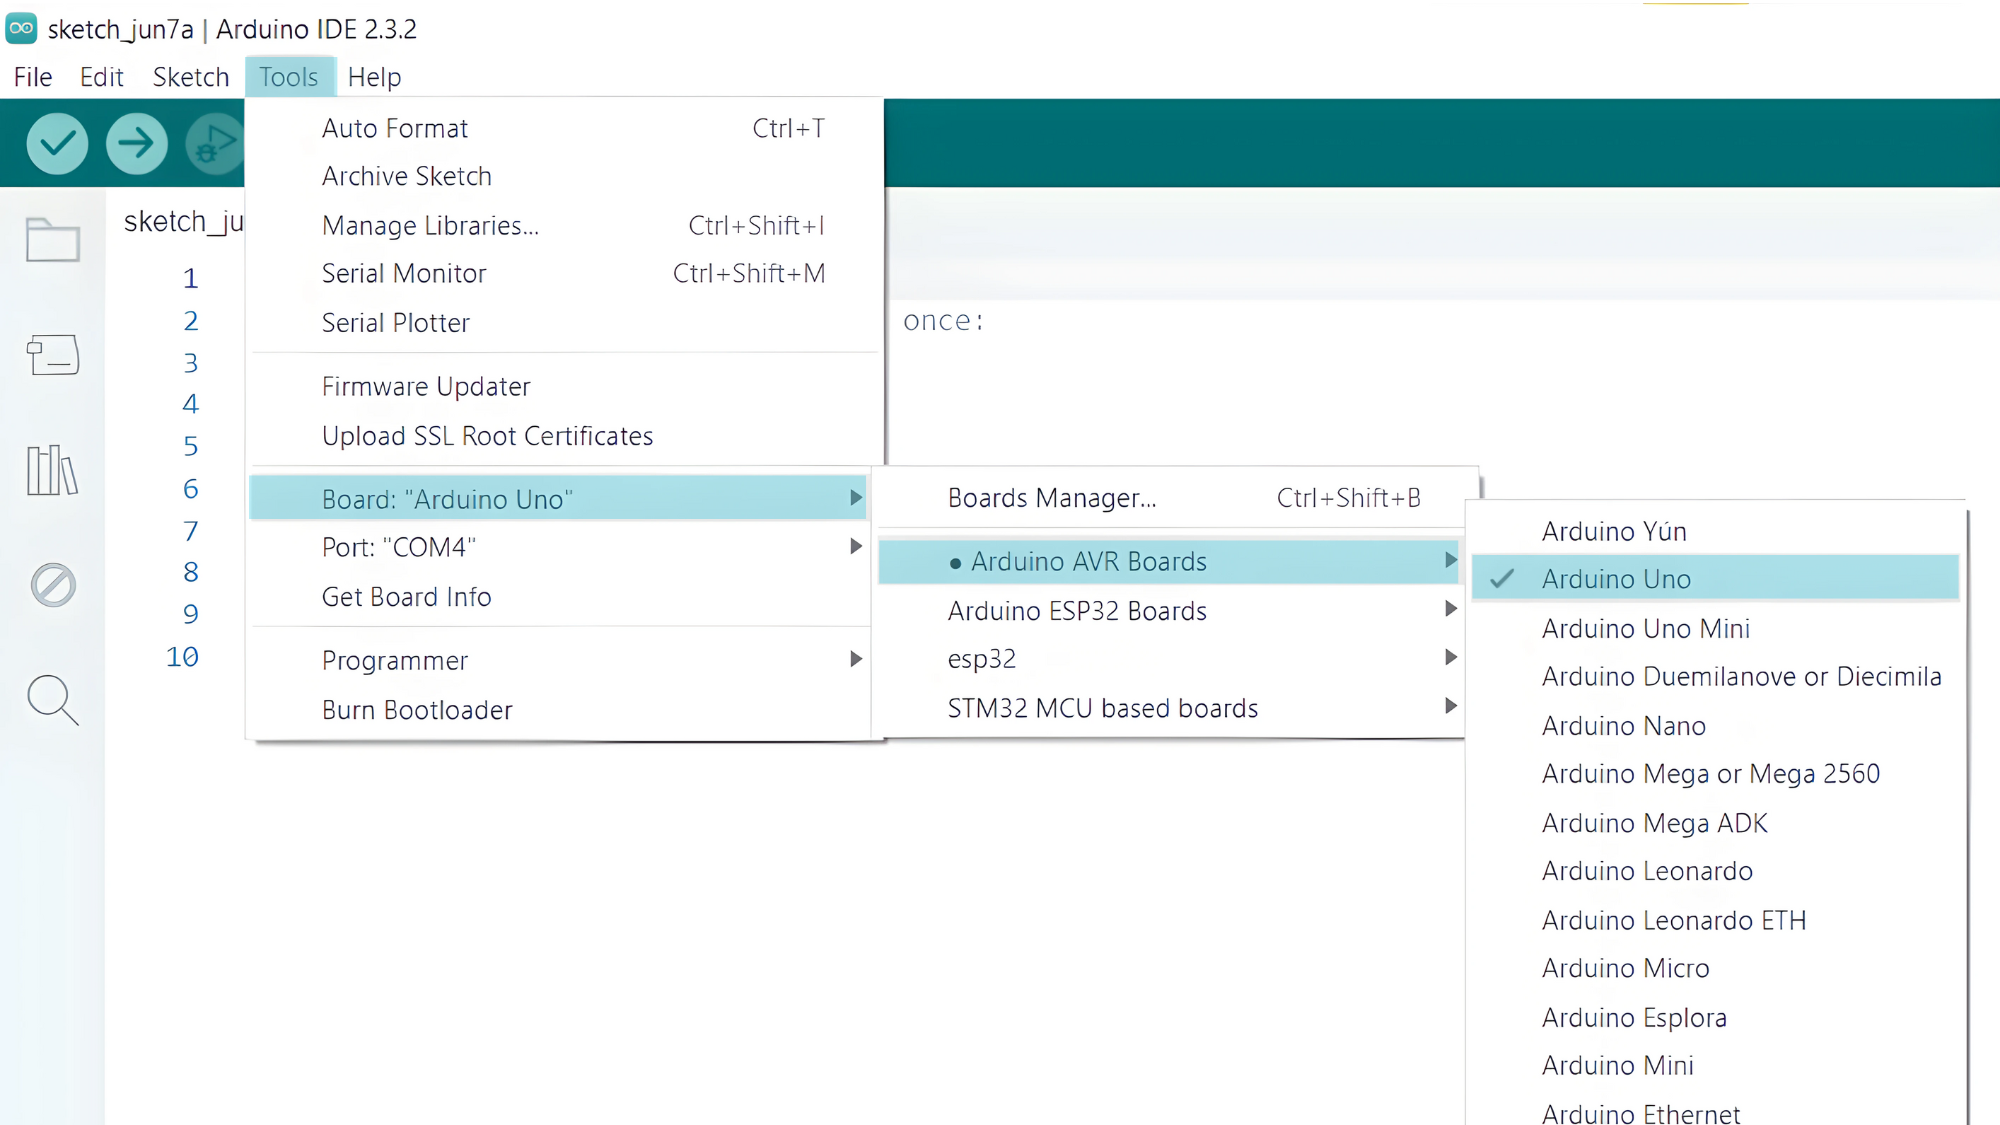
- Go to Tools > Board and select your Arduino board (e.g., Arduino Uno).
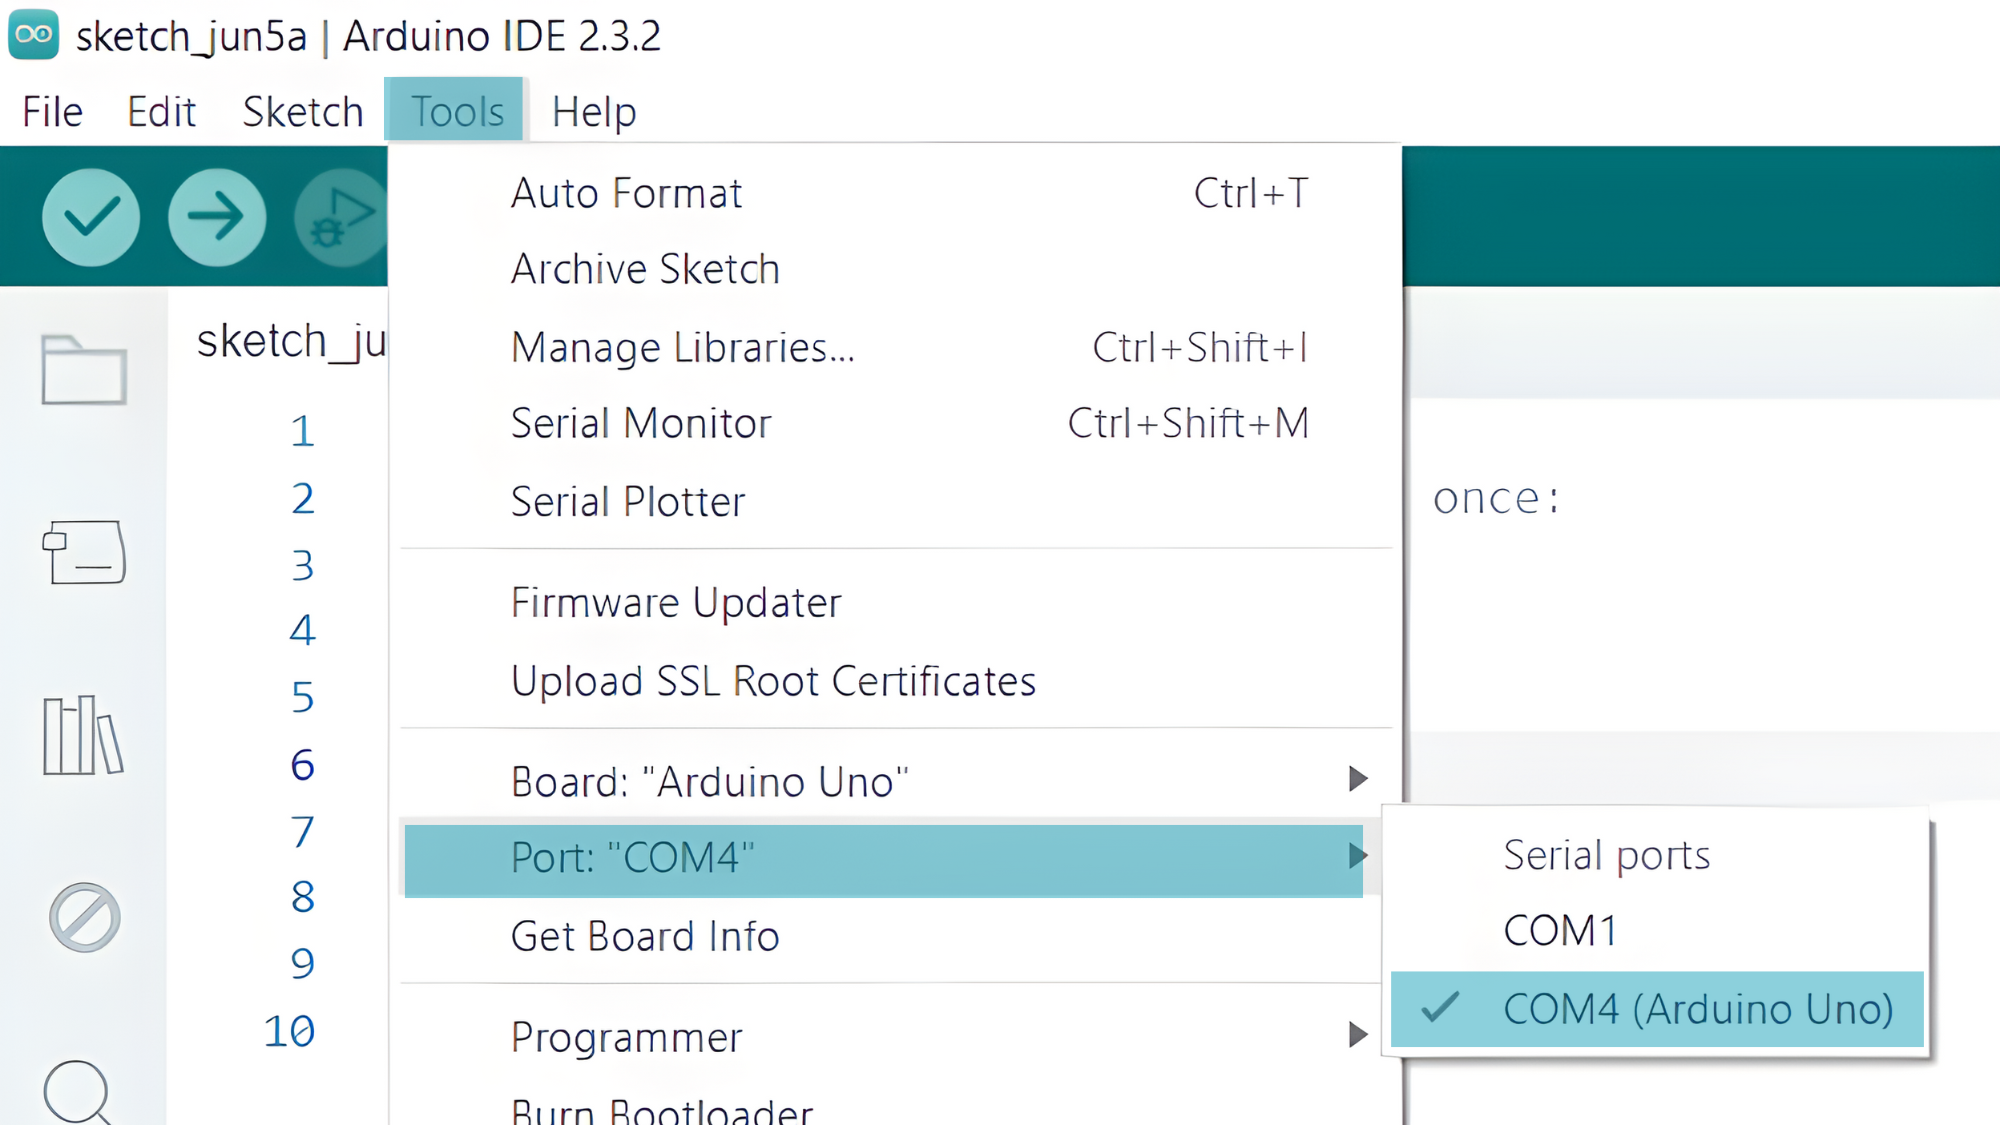
- Go to Tools > Port and select the port to which your Arduino is connected.
Step 3: Upload the Code
- Copy the provided code into your Arduino IDE.
#include <OneWire.h>
#include <DallasTemperature.h>

// Pin Configuration
#define ONE_WIRE_BUS A0  // Example pin 2 for data line
#define LED_PIN 13      // Example pin 13 for LED

OneWire oneWire(ONE_WIRE_BUS);
DallasTemperature sensors(&oneWire);

void setup() {
  Serial.begin(9600);
  pinMode(LED_PIN, OUTPUT);
  sensors.begin();
}

void loop() {
  // Request temperature readings
  sensors.requestTemperatures();

  // Read temperature from the sensor
  float temperatureC = sensors.getTempCByIndex(0);

  if (temperatureC != DEVICE_DISCONNECTED_C) {
    // Print temperature in Celsius
    Serial.print("Temperature: ");
    Serial.print(temperatureC);
    Serial.println(" °C");

    // Control LED based on temperature
    if (temperatureC > 25.0) {
      digitalWrite(LED_PIN, HIGH);  // Turn on LED if temperature is above 25°C
    } else {
      digitalWrite(LED_PIN, LOW);   // Turn off LED otherwise
    }
  } else {
    Serial.println("Error: Could not read temperature data");
  }

  delay(1000);  // Delay for a second
}
- Verify and upload the code to your Arduino board.

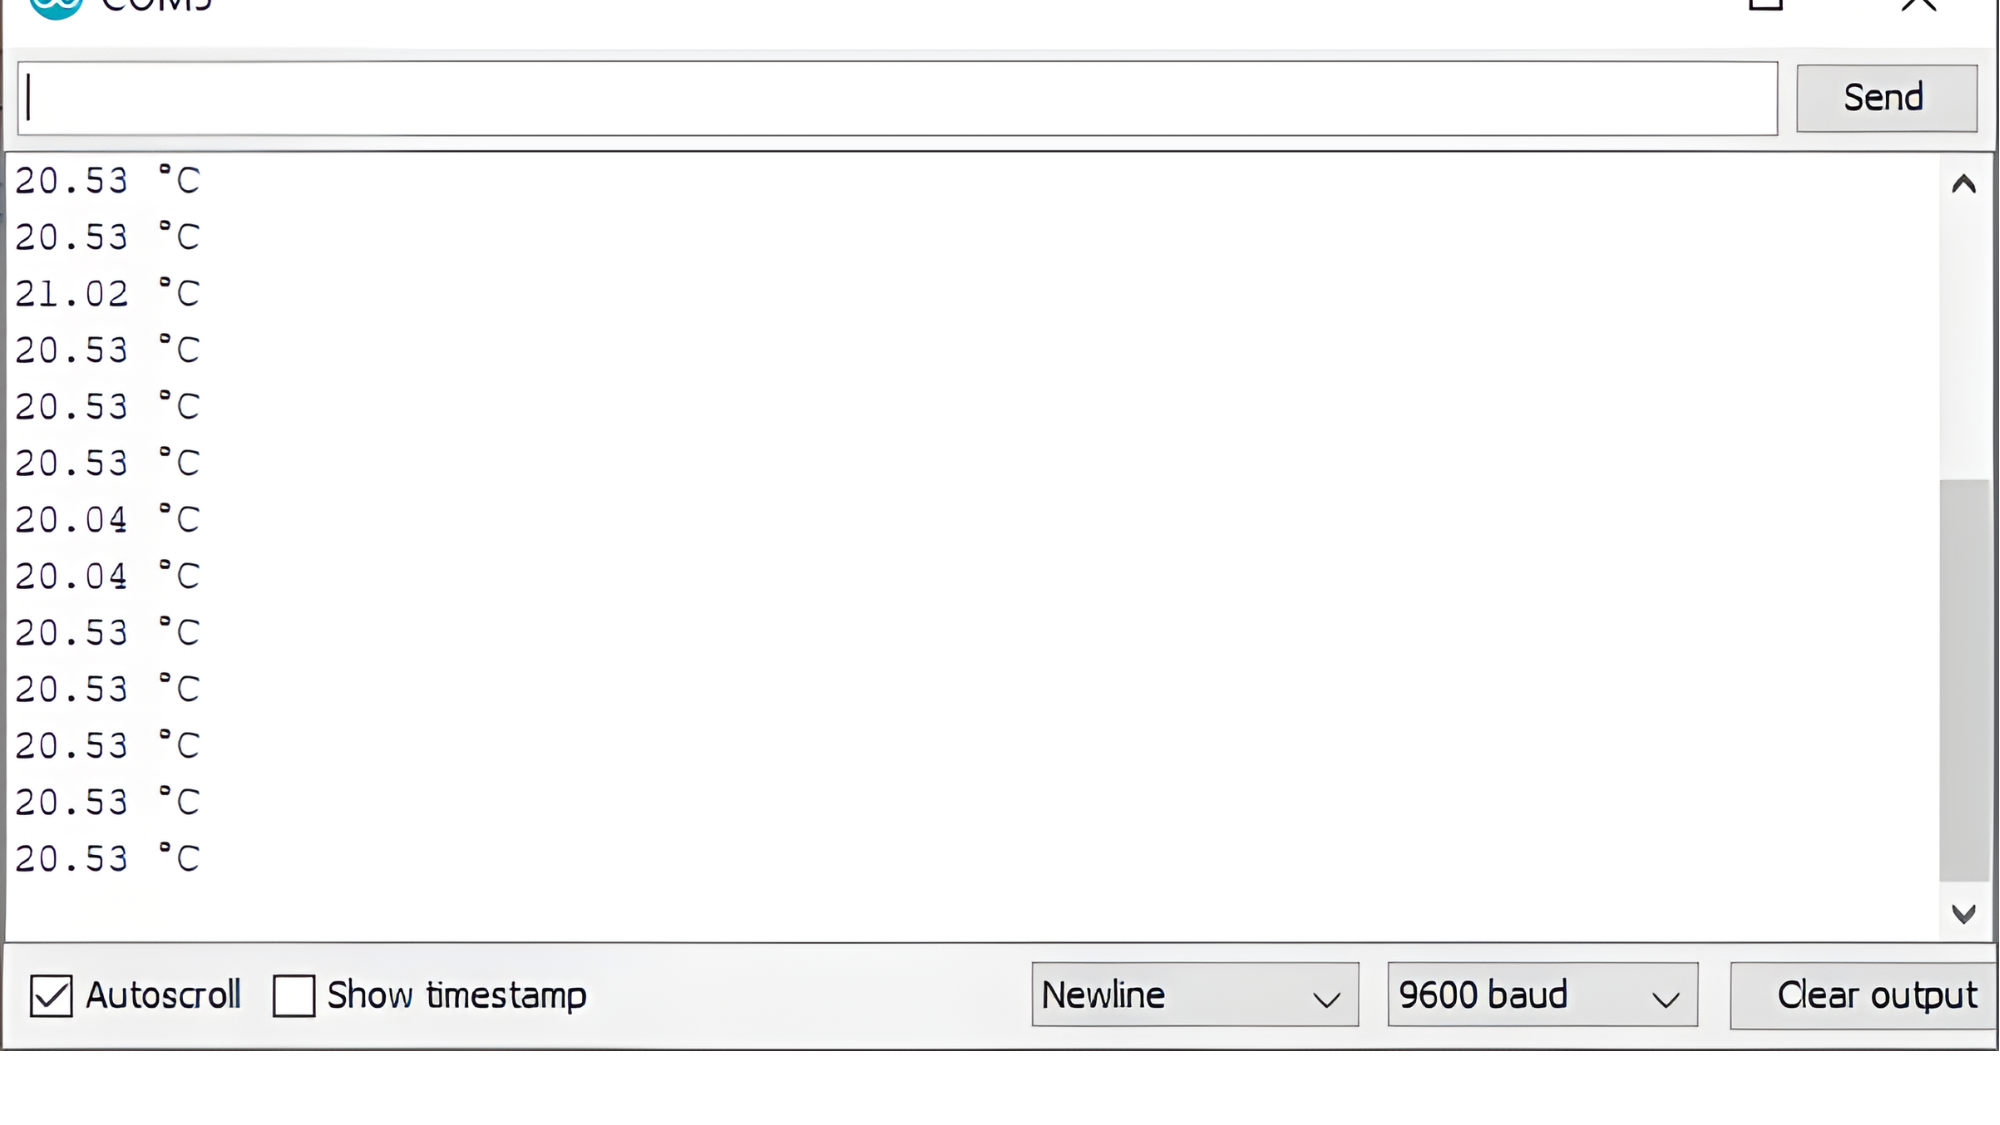
Step 4: Open the Serial Monitor
- Connect your Arduino to the computer and upload the code.
- Open the Serial Monitor in the Arduino IDE by going to Tools > Serial Monitor or pressing
Ctrl+Shift+M. - Set the baud rate to 9600 in the Serial Monitor.