Index
Introduction
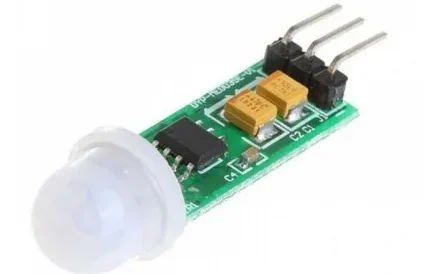
The HC-SR505 Mini Infrared PIR (Passive Infrared) Motion Sensor is a compact sensor module designed to detect motion based on changes in infrared radiation emitted by objects within its detection range
Hardware Overview
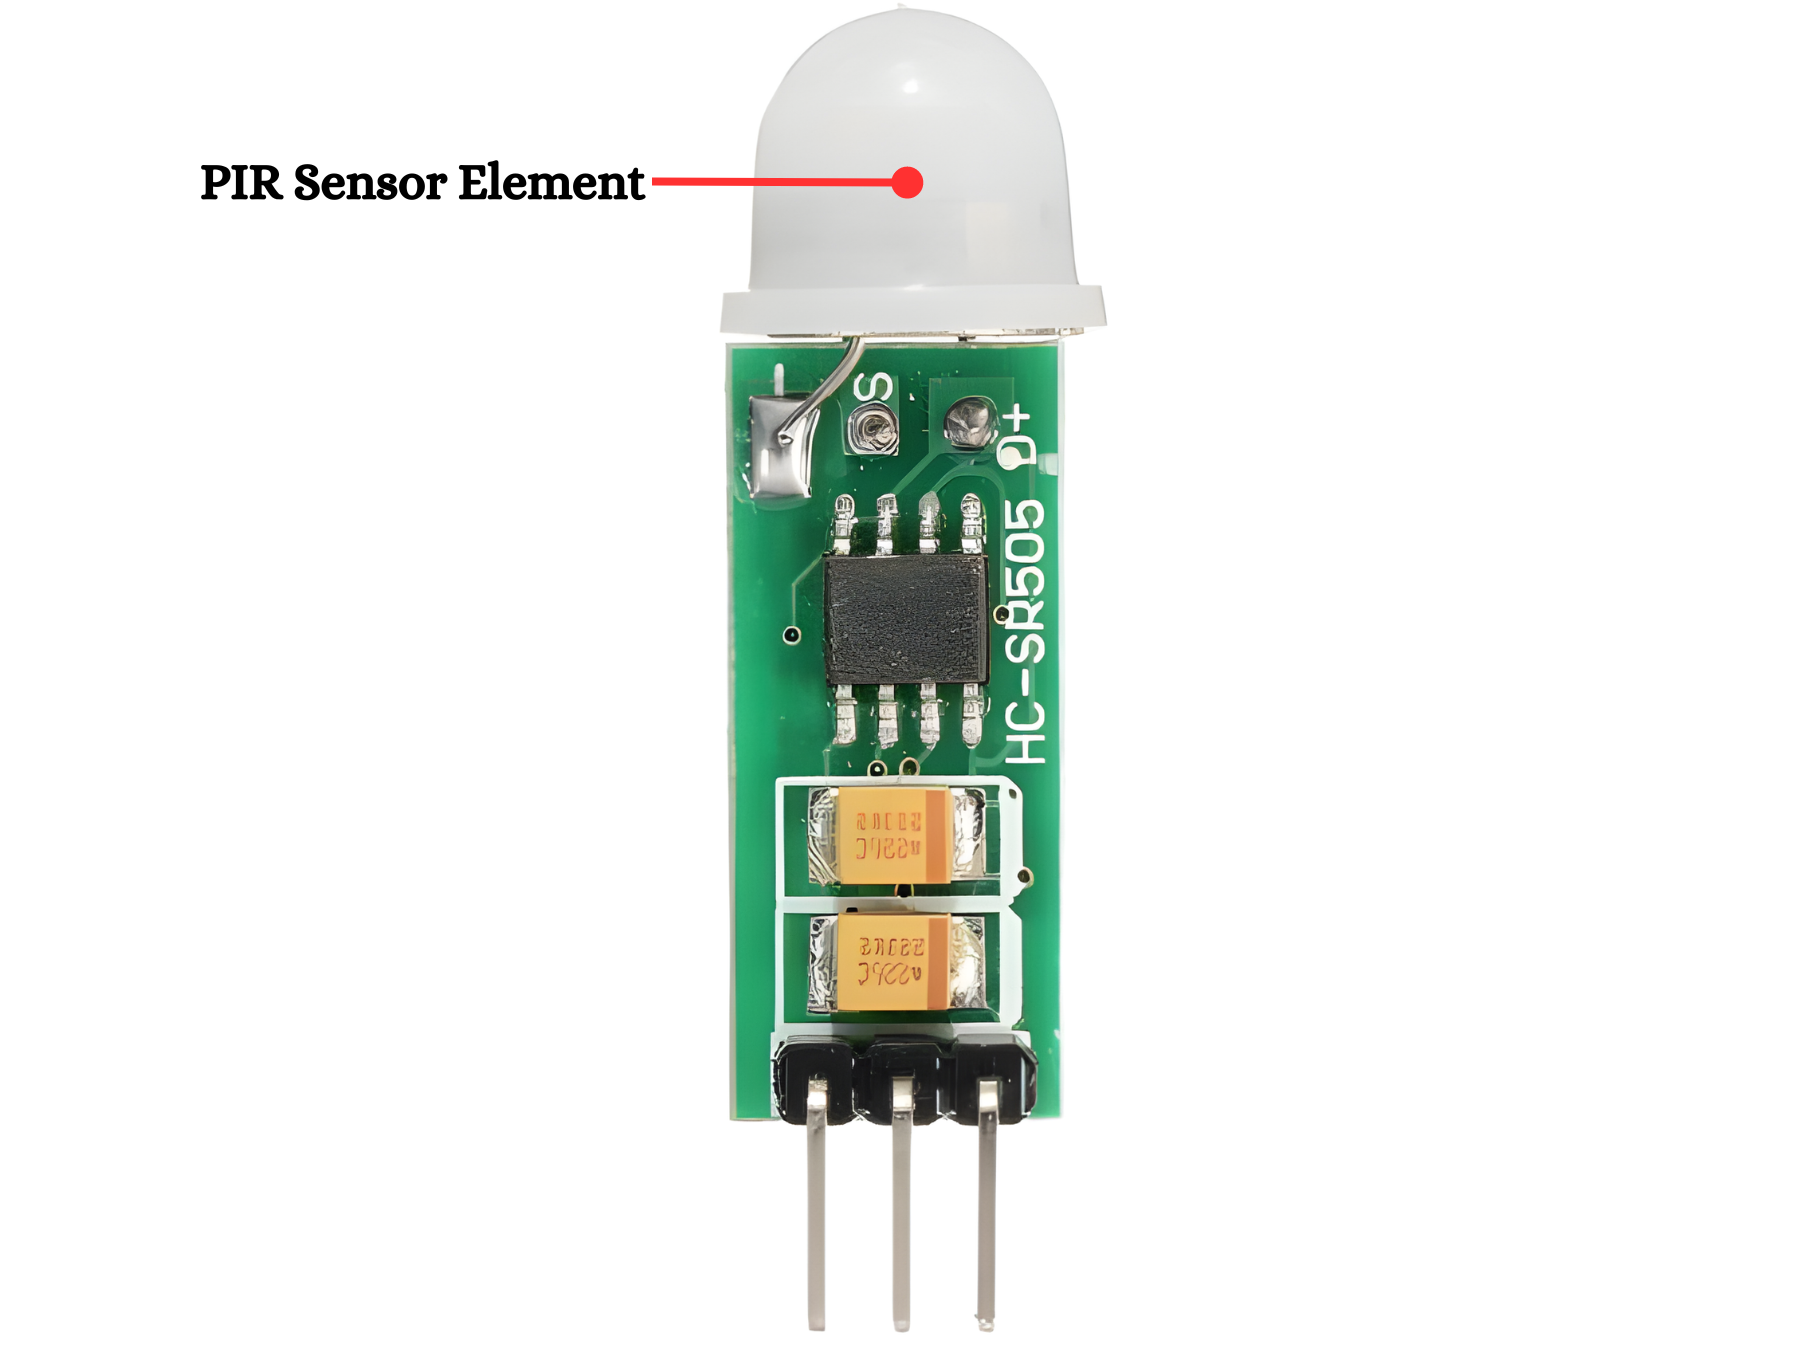
- Pyroelectric Sensor: The core of a PIR sensor is the pyroelectric sensor made from pyroelectric materials such as ceramics or crystals. These materials generate a small electric charge when exposed to infrared radiation changes.
- Fresnel Lens: A Fresnel lens is placed in front of the pyroelectric sensor to focus the infrared radiation onto the sensor. This lens helps to capture a broader field of view and increases the sensor’s sensitivity.
- Metal Can/Package: The sensor element is housed in a metal can or package to shield it from electromagnetic interference and mechanical damage. The can has an opening covered with a window or filter.
- Window/Filter: The window or filter is made of an infrared-transparent material like polyethylene. It allows infrared radiation to pass through to the sensor while blocking other types of light.
- Infrared Detection
- The pyroelectric sensor detects changes in infrared radiation when a warm object moves.
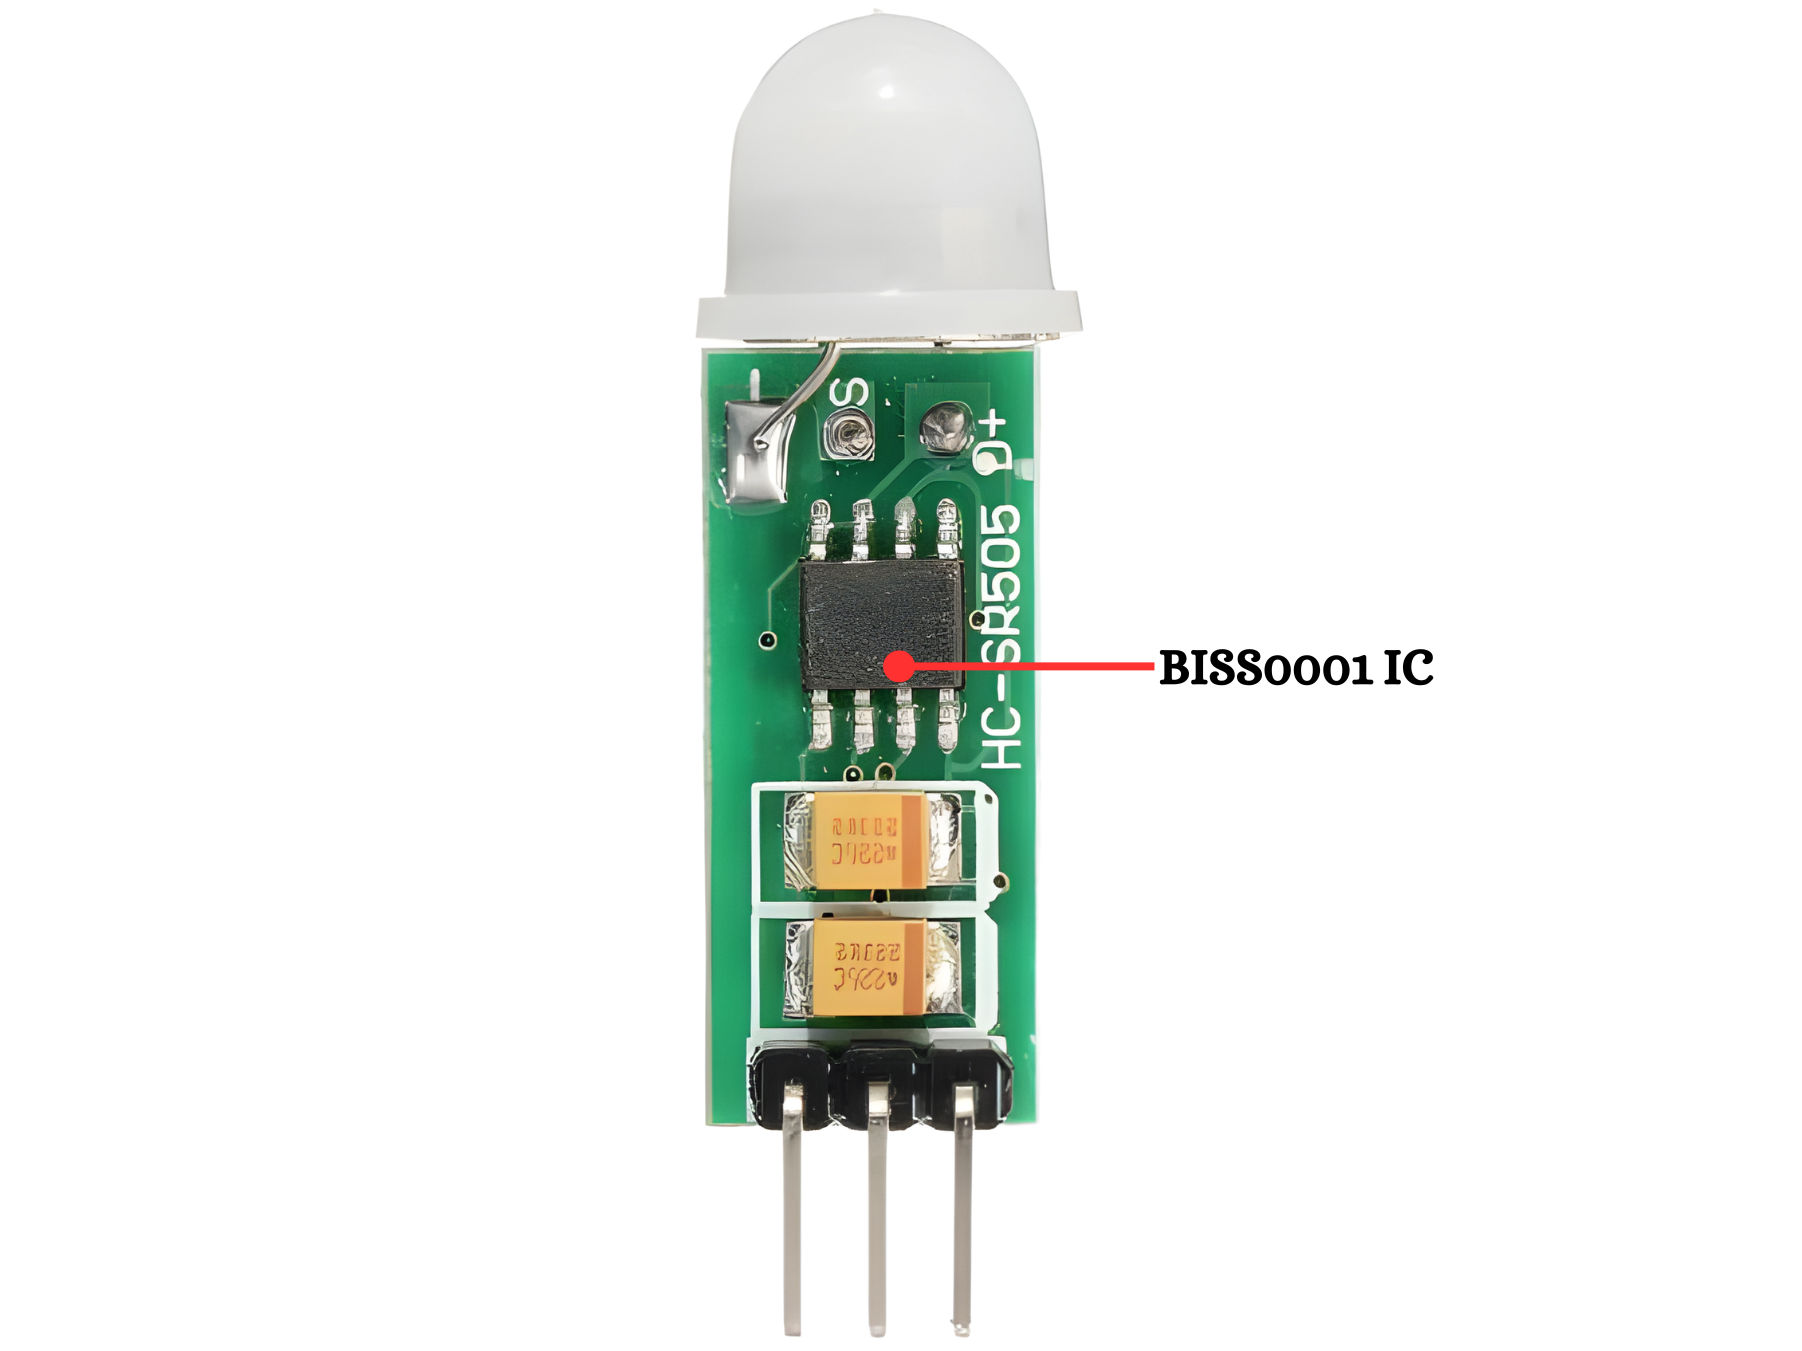
- Signal Amplification
- The small voltage generated by the pyroelectric sensor is amplified by the IC.
- Signal Processing
- The IC processes the amplified signal, filtering out noise and irrelevant changes in infrared levels.
- The comparator in the IC checks if the signal surpasses a set threshold.
- Output Signal
- If the signal surpasses the threshold, the IC generates a high (logic 1) output, indicating motion detection.
- If the signal does not surpass the threshold, the IC generates a low (logic 0) output.
Working Principle
The HC-SR505 sensor utilizes a pyroelectric sensor to detect variations in infrared radiation emitted by moving objects, such as humans or animals. When an object moves within the sensor’s field of view, it causes a change in the detected infrared radiation, which is converted into an electrical signal by the pyroelectric sensor. This signal is then processed to trigger a motion detection event.
Application
- Security Systems
- Home Automation
- Robotics
- Interactive Installations
- DIY Electronics
Technical Specifications
- Wide operating voltage range: the default operating voltage DC4.5V-20V.
- Output level: High 3.3V / Low 0V
- Trigger: repeatable trigger (default)
- Automatic induction: to enter the sensing range of the output is high, people leave the sensor range automatically delay off high, output low. Ultra-small size.
- Micropower: quiescent current <50 microamps, especially for battery-powered automatic control products.
Pinout
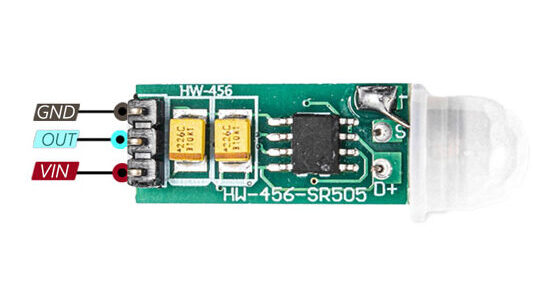
- VCC: Connects to a 3.3V – 5V power supply.
- OUT: Outputs a digital signal (HIGH or LOW) indicating motion detection.
- GND: Connects to the ground (0V) of the power supply.
Circuit Diagram
| HC-SR505 Pin | Arduino Pin |
| VCC | 5 V |
| GND | GND |
| OUT | D2 |

Programming With Arduino
Step 1: Open your first sketch
- Open the Arduino IDE.
- Copy and paste the provided code into a new sketch in the Arduino IDE:
// Define pin assignments
const int sensorPin = 2;  // Connect OUT pin of HC-SR505 to digital pin 2

void setup() {
  Serial.begin(9600);  // Initialize serial communication
  pinMode(sensorPin, INPUT);  // Set sensor pin as input
}

void loop() {
  // Read motion detection status
  int motionDetected = digitalRead(sensorPin);

  // Check if motion is detected (sensor output is HIGH)
  if (motionDetected == HIGH) {
    Serial.println("Motion detected!");
  } else {
    Serial.println("No motion detected.");
  }

  delay(1000);  // Delay for 1 second before next reading
}
Step 2: Select your board type and port
- Go to Tools > Board and select your Arduino board (e.g., Arduino Uno).

- Go to Tools > Port and select the port to which your Arduino is connected.
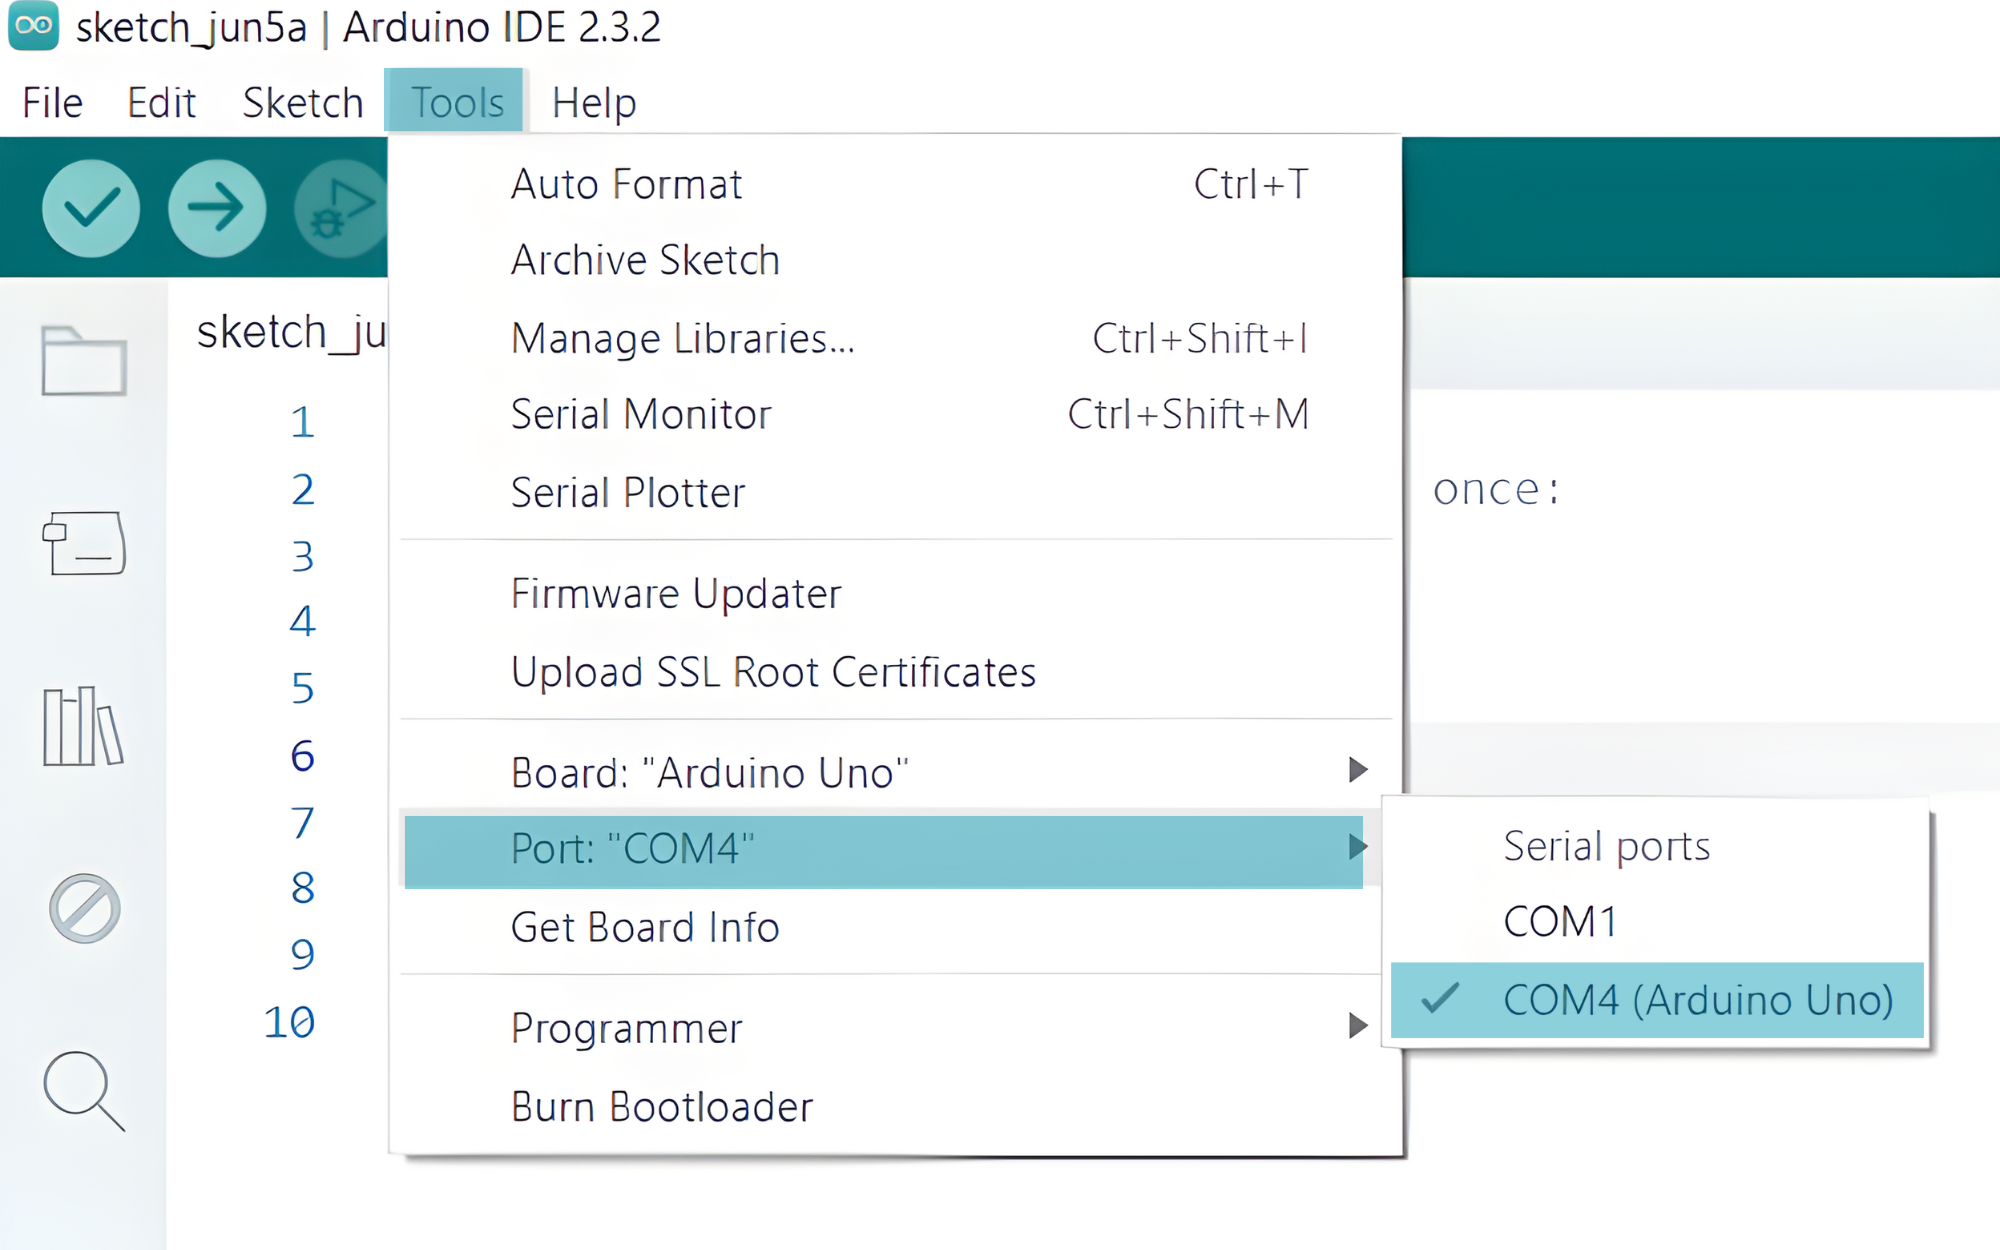
- Verify and upload the code to your Arduino board.

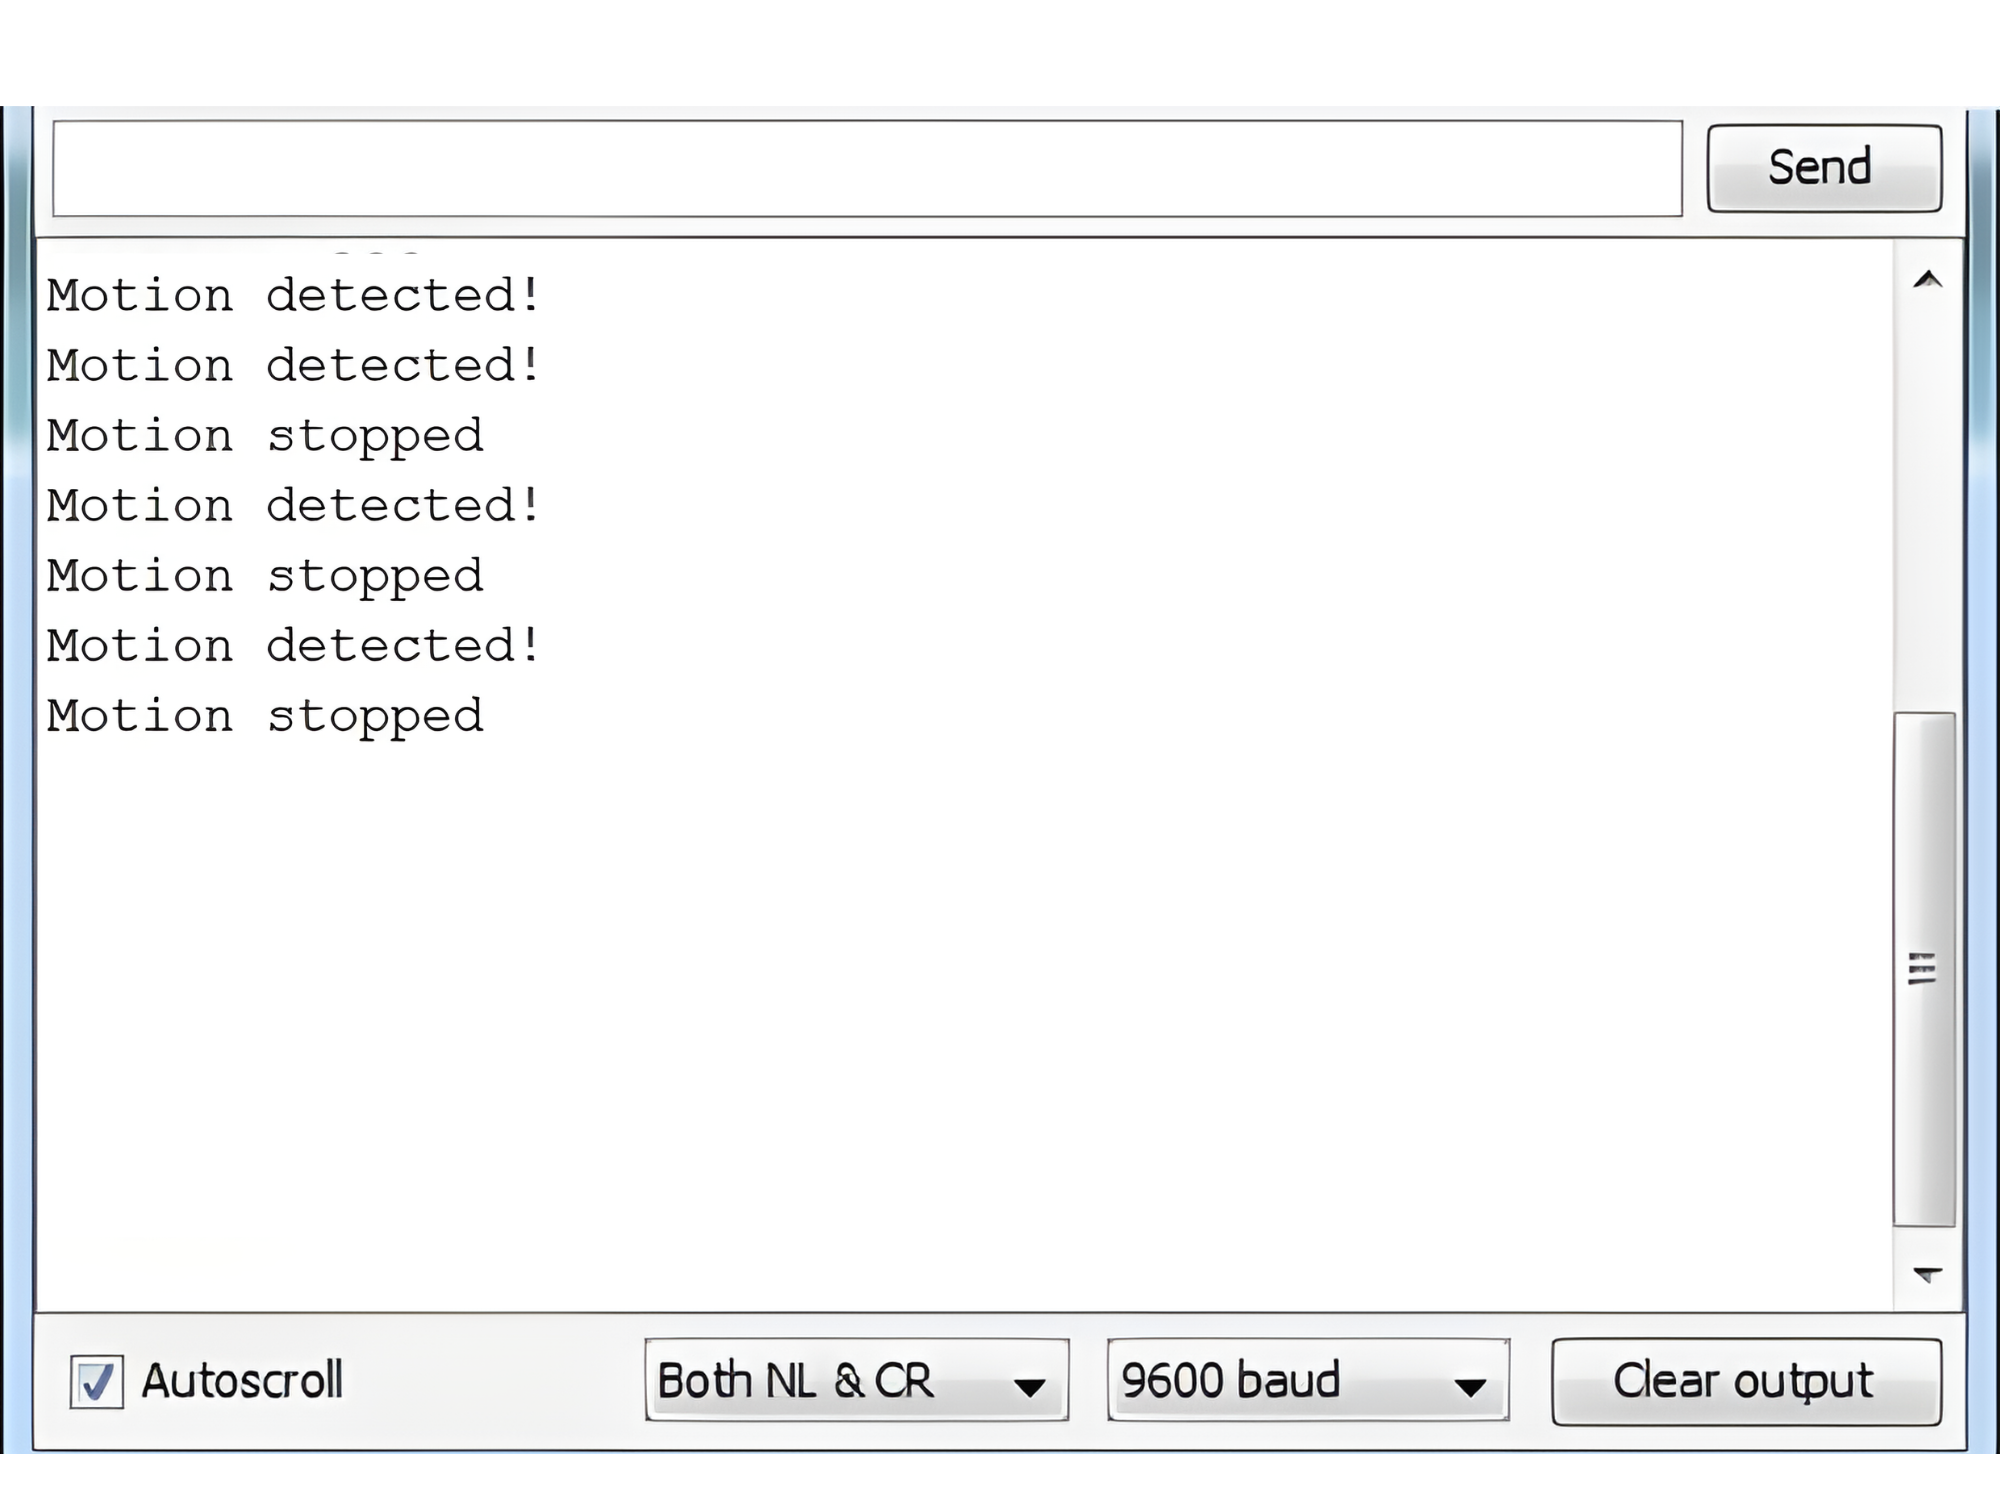
Step 3: Open Serial Monitor:
- Once the code is uploaded successfully, open the Serial Monitor in the Arduino IDE.
- Set the baud rate to 9600 baud.