Index
Introduction
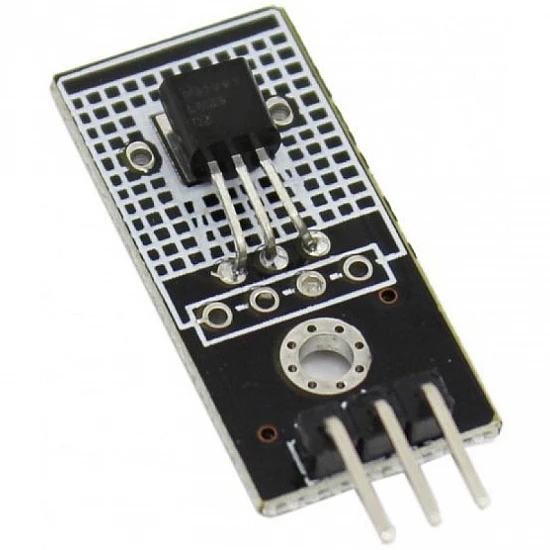
This LM35D Analog Temperature Sensor Module is based on the semiconductor LM35 temperature sensor. The LM35 Linear Temperature Sensor module is useful in detecting ambient air temperature. Sensitivity is 10mV per degree Celsius. The output voltage is proportional to the temperature.
Working Principle
To easily use the LM35 temperature sensor, connect its left pin to a power supply ranging from 4V to 20V and the right pin to the ground. The middle pin produces an analog voltage that corresponds to the temperature in Celsius. The LM35’s graph of output voltage versus temperature shows a straight-line relationship. Importantly, the analog output voltage isn’t influenced by the power supply. To convert the voltage output to temperature, apply the formula: Temperature (°C) = Vout * 100. For example, if the voltage output is 0.5V, it means the temperature is 0.5 * 100 = 50°C
Application
- Climate Monitoring Systems
- Industrial Process Control
- Home Automation
- Weather Stations
- Electronic Devices Thermal Management
Pinout
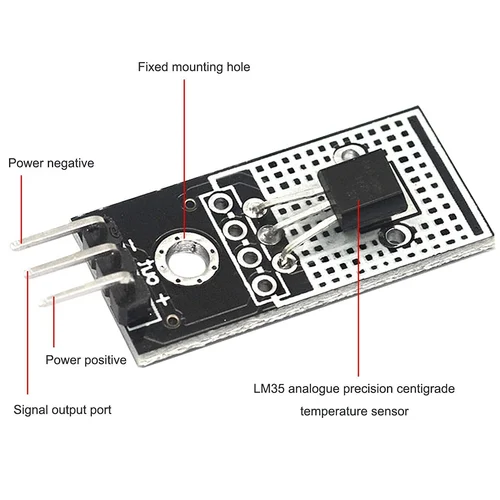
- Pin 1 (VCC): Connect to Arduino 5V (or suitable supply voltage).
- Pin 2 (Vout): Connect to Arduino analog input pin (e.g., A0).
- Pin 3 (GND): Connect to Arduino GND (Ground).
Circuit Diagram
| LM35D Pin | Arduino Pin |
| VCC | 5 V |
| GND | GND |
| OUT | Analog A0 |

Programming With Arduino
Step 1: Select the appropriate board and port
- Open the Arduino IDE.
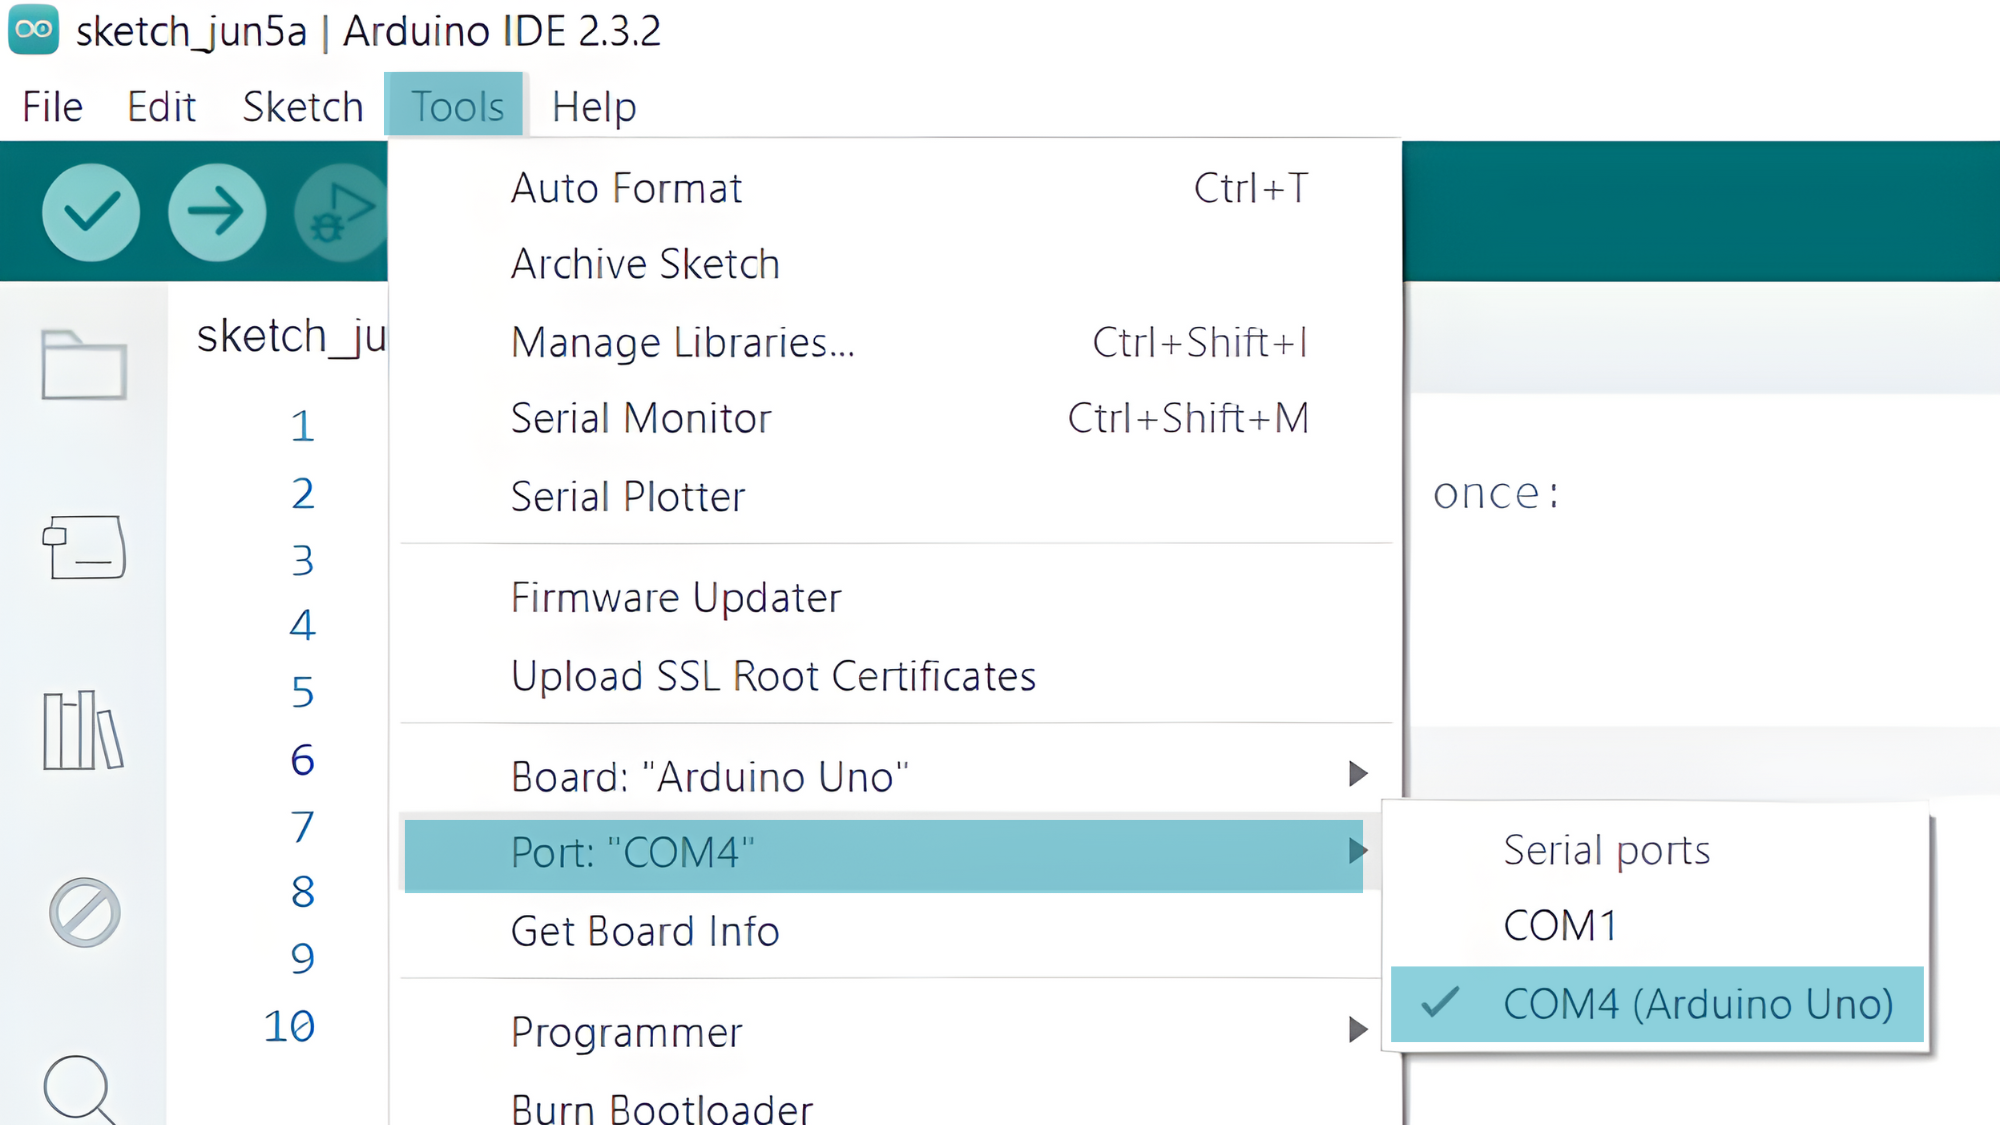
- Go to Tools > Board and select your Arduino board (e.g., Arduino Uno).

- Go to Tools > Port and select the port to which your Arduino is connected.
Step 2: Upload the Code
- Copy the provided code into your Arduino IDE.
#define lm35Pin A0 // Analog pin to which the LM35 is connected

void setup() {
  Serial.begin(9600);
}

void loop() {
  // Read the analog value from the LM35
  int sensorValue = analogRead(lm35Pin);

  // Convert the analog value to temperature in Celsius
  float temperatureCelsius = (sensorValue / 1024.0) * 500.0;

  // Print the temperature to the Serial Monitor
  Serial.print("Analog Value: ");
  Serial.print(sensorValue);
  Serial.print(", Temperature: ");
  Serial.print(temperatureCelsius);
  Serial.println(" °C");

  delay(1000);  // Adjust the delay as your need
}
- Verify and upload the code to your Arduino board.

Step 3: Open the Serial Monitor
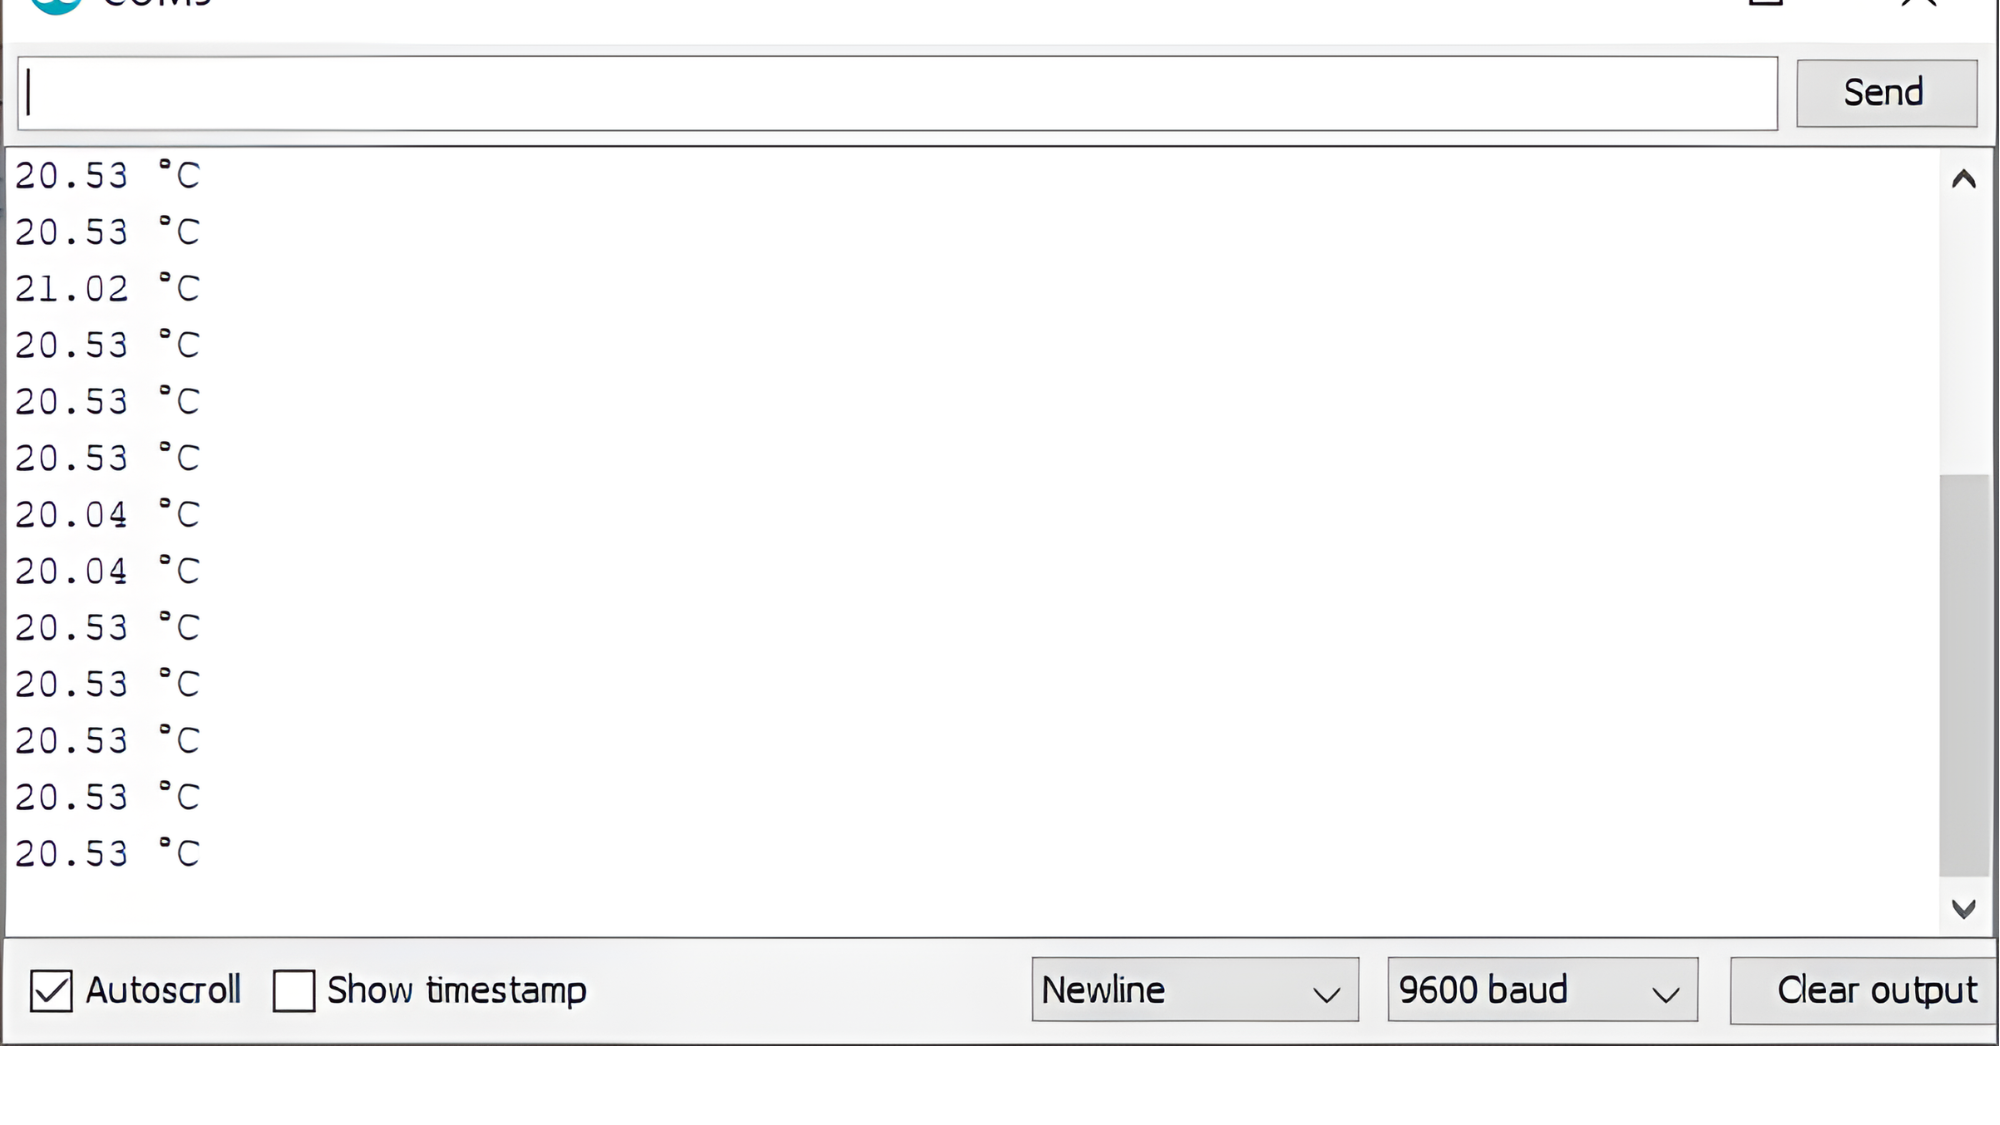
- Open the Serial Monitor in the Arduino IDE by going to Tools > Serial Monitor or pressing
Ctrl+Shift+M. - Set the baud rate to 9600 in the Serial Monitor.
- Observe the temperature readings being printed every second.
